Monday, May 31, 2021

New Leg Vice

 I've tried a number of different vices on the bench.  I used pipe clamps and a 2x piece of douglas fir.  

The 1st was a parallel (moxon) vice.  I got tired of dealing with racking.

Next was a leg vice.  The pipe clamp slipped so I moved on.

A cheap 6" vice from the internet was pretty good for awhile.  I bought one with a dog to use with a line of dogs on the bench.  I used it once or twice.  Perhaps if I ever install it as a tail vice I'll use it.

I bought a 1-1/2" thread box  to build an angled leg vice. 

The screw (maple) & nut (oak). 

The chop is oak.  I'm using a different pipe clamp in my old leg vice which improves it.

The new vice in action.  It's angled.  I glued leather onto the chop to add some grip.  It adjusts racking to whatever you're gripping.  It's about the same width as my cast iron vice was.  I haven't angled the top yet.  If I don't need to, I won't.

At the base, instead of a pinboard, I use a wedge I move with my foot.  I have a mortised & tenoned block to keep the vice from twisting.  Underneath it, I have some wheels.  I may add a wheels above it and that could allow me to get rid of the wedge.  

So far, the wedge works well.  Since the bottom of the chop is beyond the bench leg, I have a 2x4 on the flood going back to the wall to support the wedge.  If my bench wasn't against the wall, I'd need a different solution.  I think my next bench will have angled legs so there is something for the chop & wedge.

It doesn't have a garter so I have to move the chop back out as I unscrew it.  I don't move things much in use so it's not an issue.

I'm happy with the wooden screw.  It's noisy but getting quieter as I'm using it.   I wish I had gotten a threadbox with lower TPI so it would be faster, but not enough to redo things.

I have to wonder why the cast iron vices became popular.  The leg vice just works so well.  Even without angling the depth is more.

I plan on making a moxon vice with wooden threads. I have a 3/4" threadbox with a lower TPI that will be faster as well.  Maybe as part of a bench on bench for dovetails and mortising.


Sunday, April 25, 2021

Miter Box

 I went to a used tool shop to get a used 9-1/2 block plane.  While I was there I saw he had a used miter box for $70 but didn't get it.
 
 I've been thinking about miter boxes.  
Not the plastic junk or the wooden ones, but the ones they used to make.  

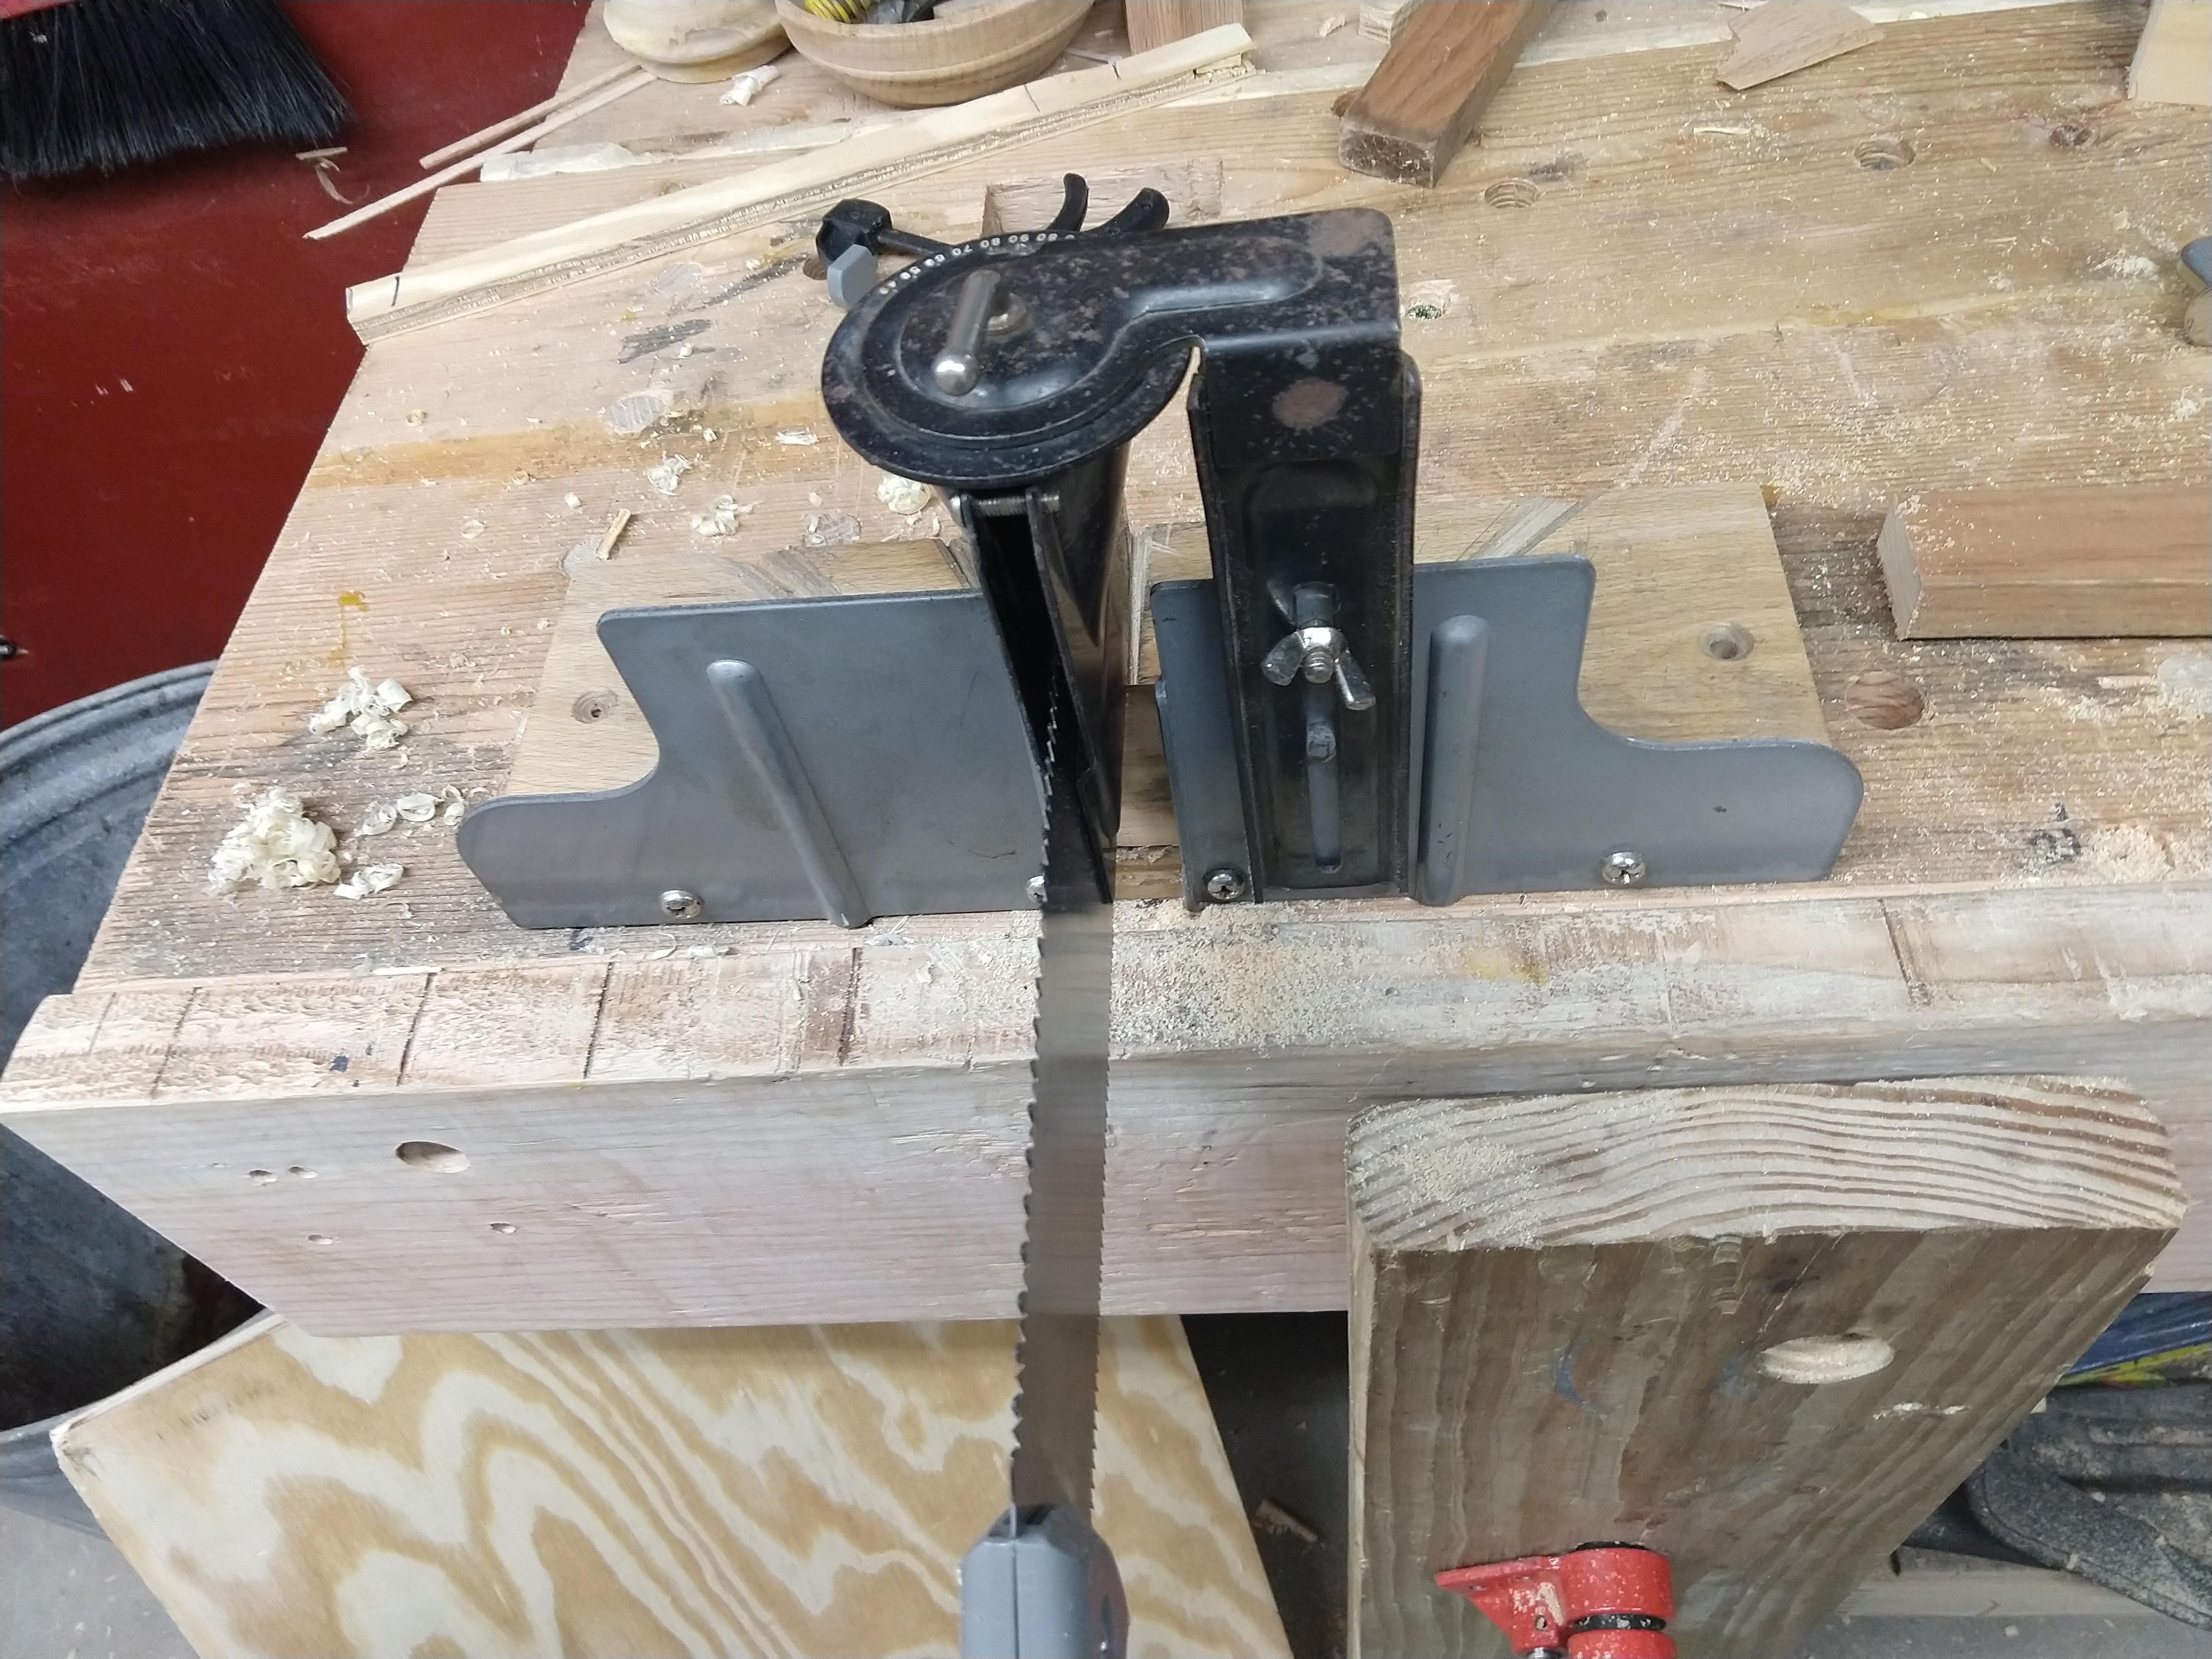
Like this one I had gotten earlier and blogged about.  This is a low end one and it works much better than the plastic boxes.


This is what the high end miter box saws looked like.  They would come with a back saw.  Most of the makers stopped making or went out of business.
The Ulmia miter box is still being made, along with parts.  Amazon carries wood & metal blades.  This is their top of the line model.  It is cast iron and weighs 40 lbs.  New, it's more than 10 times what I paid. 

It works very well, cutting easily through pine or oak as I have here.  The Ulmia is worth having.  It's quick, quiet, accurate, and doesn't put dust in the air.

I squared up some boards.  These are the offcuts

There is a penny in the jaws of one of the wrenches.


A penny is 6/100" or just under 1/16" (1.54mm).  The larger offcuts are 13/100" or just over 1/8" (3.3mm). 

Try that with the plastic junk.  Or even with a power miter saw.


Wednesday, March 17, 2021

Wooden Screw


I'm using a thread box and tap to make a wooden screw for a leg vice.

It's a 1-1/2 maple dowel that I soaked in mineral oil for many days.

  
When cutting, I use coconut oil which helps the chips clear. 

When tapping, it's critical and you need to go forward and back to clear chips. 

The hole is 1-3/8.  After I threaded it, I cut the nut out. 

I should have flattened it before drilling to ensure the hole was square to the nut.  A bit of sawing & planing got it close enough to use for the leg vise to replace the pipe clamp one I'm using here.


Sunday, February 21, 2021

Miter Box For Japanese Pull Saw

 Most of the time, I just saw w/o a guide.  Sometimes I want to use a miter box.  I've tried to make one but they didn't work well.

I was looking at vintage miter boxes, not the crappy plastic ones that are sold now and I saw this https://youtu.be/BZI0qgLfkms on youtube.

A Stanley 116 miter box was (& still is) cheap.  It's much better than the plastic or wood ones (IMO) and it works with any saw.  So I bought one on eBay for under $20 & it was even in the original box.


It's limited in the thickness it can cut, but that's ok.  It can do at least as thick as the plastic ones.

You sight down the saw holder to see your mark.  It it's off by 1/64, you can't see it.  It's very easy to position and the cuts in the wood don't matter.

I use clamps to hold the stock and maybe hold it to the bench.

I need to add a sacrificial board or just replace the board.


If you turn is around, the pull keeps it against the fence.

The cut is straight, vertical and accurate.

If you need exact, take it to a shooting board.


Saturday, January 30, 2021

Thin stock planing appliance

 I want to make (lots of) boxes with thin wood to use as drawers.


This is my 1st idea.  The bottom & sides are from pine branches in my backyard that I cut about 6 months ago.  

I jointed & glued 2 pieces to make a wider board. Then I planed the board smooth.
I cut a 1/8 in groove in the sides for the bottom.

The end is scraps glued together that are 2x as thick as the sides.

The bottom is slid into the grooves,  the sides & bottom are nailed around the end pieces.

Simple and it should handle wood movement.


The 1/8 groove is too thin for the bottom.  3/16 would be better.  The thickness of the sides are not consistent either.  I need something better.


 There are lots of hand plane thicknessing appliance (jigs are for power tools, appliances are for hand tools) designs out there.  Most have an adjustable stop screwed into the endgrain.  I find that the end grain screws eventually give out.

I also wanted to handle as wide a piece of wood as I could.  My #7 is the widest I have.

So, 3/4 plywood on the bottom.  1x3 cut in 1/2 for the sides.  I put them tight to the plane and screwed them in place.


The stop is a piece of oak ~ 1/2" thick.

The plane rests on strips of scrap thicker than the stop and ~ 1/4" wide.  Basically from the plane iron in the mouth of the #7 to the edge of the plane.


To get the thickness, I just put spacers under the stock so the distance from the plane to spacer is the thickness I want.

I just needed the right thickness.  Planing things to thickness w/o the jig is a pain.  And I need multiple thicknesses.

I decided to be lazy.  I found these bamboo strips.

They're 15" long, 2mm (1/8") thick and cheap.

Unfortunately, they're narrow.  3/8" wide.


If I lay them side by side & put a little masking tape on front & back, I get spacers that will work.

If I really need to fine tune the thickness, I can add strips of paper to sneak up.


2 of them get me 3/8" thick.
4 to get the box bottoms to 3/16.

I can use these to make precise spacers instead of stacking.  If I want to work that hard.


It's quick, easy and accurate.


I have lots more wood to got through to make my boxes.

Saturday, January 23, 2021

Planes - Homemade and Modified

 Most of my planes are used.  

I have purchased some new ones: a Veritas small plow plane and a Lie Nielsen large router plane.  They have the benefit of over a hundred years of prior art.  They have small differences that make them function just as well and "feel" a bit better to use.


I've made planes too.  The 1st one I made is "The poor man's rebate plane" following Paul Seller's video.  It makes a rebate as well as the plow plane would IMO.  It's just limited to rebates. 

Rex Krueger has a video building one also. 


They both have videos to make a router plane as well.   I followed the Stumpy Nubs video to try it out.


The 3rd one I made  is a scrub plane.  It works fantastic!

It's a laminated plane from oak I rived.  The blade is from an old block plane with a heavy radius.  The cross pin is a 1/4" bolt.  The wedge is also oak.


The only real problem I have is that the blade pops out after using it for awhile. 

I think the problem is either the hardwood wedge or using a bolt instead of a wood pin ala Krenov planes.

I bought a cheap #4 from Harbor Freight & just radiused the blade.
It's easier to adjust than my wooden one.

The blade is junk & doesn't keep an edge.  I purchased a pack of 5 Calialstro blades for $30.  They tested well in James Wright's epic plane blade test.  They can't be worse.

It's not as fun as the wooden plane but I'm no longer interrupted to reassemble things.


Saturday, December 26, 2020

Standing and sitting

 I've been standing at my desk instead of sitting.  It has really helped my back.  Enough that I can concentrate on work.  Now my legs and feet ache.  I'm able to move the keyboard/mouse and sit, but the monitors are too far away.  I've ordered a new chair that I know will work so I should be ok sitting. However, I still think standing is good too.

You can see in the previous post, I have a laptop & 2 monitors.  I could adjust the stand I made, but not with everything on it.  It's time for a stand that can adjust with everything on it.  And to make it wider (13") so nothing hangs off the ledge.

I've seen some DIY lifts that use an X with 1 side fixed and the other moving.  Unless all the weight is on one side, it won't work for something distributed across the whole thing.  I decided to go with a scissor jack, like for a car.  The base is fixed, the top is fixed and a screw adjusts it. 


By using 2 crosses, I can have a wide stance to support across the whole 56".  The middle pivots are 12.5" apart.  And front to back are about the same.

I want to raise & lower about 20".  To make the crosses, I cut 8 pieces of wood to 22".  So, we have 8 links.

I found the center, drilled a hole and then drilled another hole just a bit in from the end (1/2"?).

I used those holes to drill another piece with matching holes.  Then, with a bolt in the center, I rotated the bottom piece to its undrilled end & drilled through.  Using this, the distance from center to the either end will match.  And then I drilled all the rest to match.

For the base, I have a long piece of 1x3.  I purchased v grooved wheels with bearings to roll along it.  It's important the the bolts through the wheels are the same height as the fixed bolts. 

I'm using 1/4" 20tpi bolts everywhere.  I have washers between pieces of wood to reduce friction.  The wheel bearing is recessed so I stack 2 washers and the fender washer prevents the wheel from rubbing wood.


I have a strip of 1/4" oak nailed to the base that works as a rail for the V.  Just lightly planed square off the bandsaw.


The crossed links are separated by a small block of wood and washers.  The total thickness should be the same as the 1x3 used for the base & top.


Looking at the end with the top & base.  You can see the oak strip is offset.


 Here is my initial assembly.  I have 3 horizontals fixed with dowels to the 2 56" long base pieces.  The front top rail is screwed to the desktop left right & center.  The back top rail is only screwed in the center.

With everything tightened down, it moves smoothly up & down.  If you look at the cross bolts, you can see the crossbars I bolted between.  This adds strength & some stability front to back.  

I used insert nuts in the end of the crossbar.  It's bolt -> washer -> wood link -> washer -> wood spacer block -> washer -> wood link -> washer -> insert nut -> crossbar.  The cross bars are oak.  Because I have lots of it.  And this is the part to raise & lower the desk stand.


I drilled holes in the center of the crossbars.  In one crossbar, I put a threaded insert.  

I screwed a piece of 1/4"-20 rod through the insert and through the hole in the other crossbar.  On the end of the rod on the other side of the hole I put 2 fender washers with paste wax between and then 2 nuts that I jammed together.  I also put paste wax on the threaded rod to help lubricate it.

There is lots of tension in the mechanism.  Enough to bow the 1x3s upward 1/4" in the middle when fully raised.  When moving, there can be a shift front to back that is easy to steady with a hand.
In the raised position, you can see the drill I'm using to move it.  It stays in that position, not moving left or right.  It's quick and I can't imagine how long it would take otherwise.

I'm pleased with this.  When seated or standing, everything is at the right height.  

 I'll have to add something to hold the keyboard & track when standing.   Perhaps something I can remove when sitting.

I might eventually wear the holes the bolts go through, but I can make the holes bigger and put some kind of bushing in if it matters.  They're only pine.

The 1/4-20 rod might not hold up.  I think the paste wax lubricating it will keep it from overheating.  The tension might fatigue it.  I'm going to put a rope around the crossbars as a safety when it's raised.  That will give be time to look for a thicker rod with coarser threads that will move quicker.